Follow the instructions on this page to locate your teaching schedule on Self-Service. You’ll also use Self-Service to view your class rosters and post your office hours.
Instructions: Locate Your Teaching Schedule
- Navigate to
Self-Service.
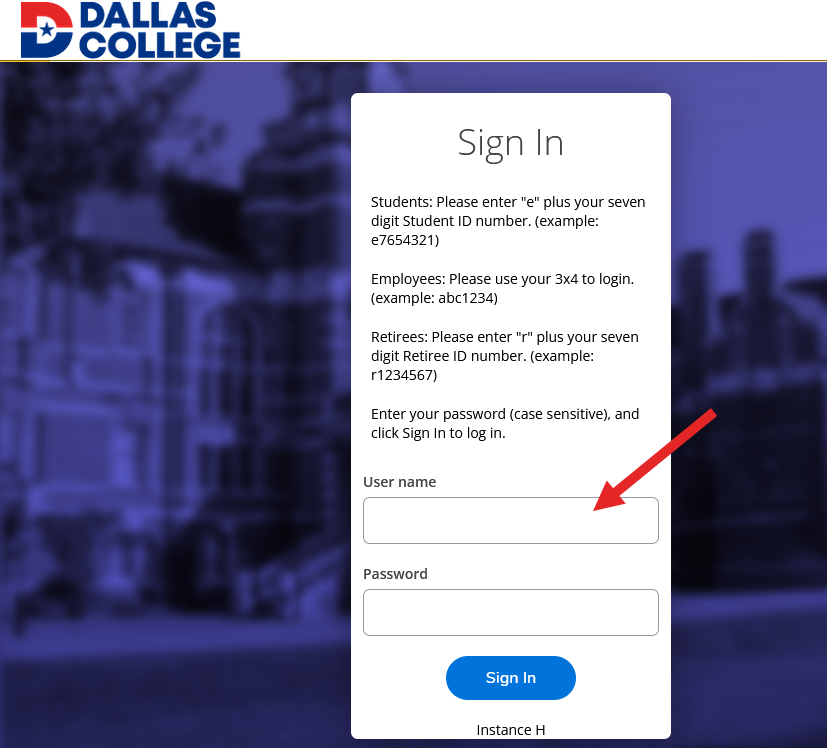
- When you are prompted to log-in, enter your username (example: e1234567) in the Student/Employee/Retiree ID field. Do
not add @DallasCollege.edu to the end of your username.
- In the Password field, enter your Single Sign-On password. (This is the same password you use to log in to your eConnect and Dallas College email account.)
-
- Select
Faculty from the menu.
- Locate the semester you are teaching and view the classes listed.
-
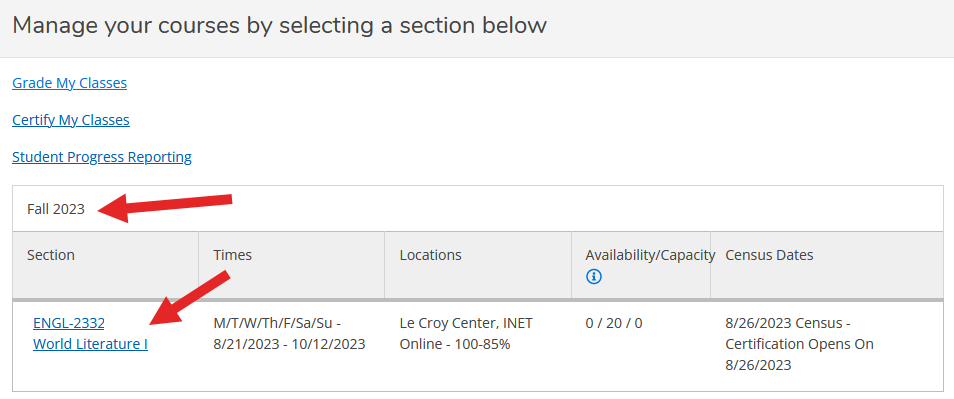
- From this screen you can also view the location of your classes, their availability, and the certification date. Selecting the title of a course will take you to your class roster.
Next Step: eCampus
After you have verified your teaching schedule, move on to the next account setup step:
Confirm Your eCampus courses have been created.